
Hi everyone. I’m Adele and I live in England with my gorgeous Paul and our two babies, Leyla who is 3 and Naomie who is 1. I am so excited to be guest posting here today. I love Milena’s blog, it’s awesome!

I usually blog over at Mammy Made. I like to write about crafting, cooking and homeschooling my two kids. I have tons of tutorials on there so come by and say hi, I’d love to see you 🙂
Today I’m going to share a jar lid pincushion that I made recently. Before I show you how to make your own, let me tell you why I needed a new one. One day we were all sat happily around the table eating broccoli and feta soup when Leyla decided there was far too much peace in the room. She picked up my (old) pincushion (which, to be fair, I probably should’ve tidied away before dinner) and dropped it all casual like into her soup 😐 Yeh, she can be very naughty. But she’s cute! She takes after her Dad 😛
So there was me with no pincushion and my pins all full of soup. It’s funny now looking back but I was far from impressed at the time!
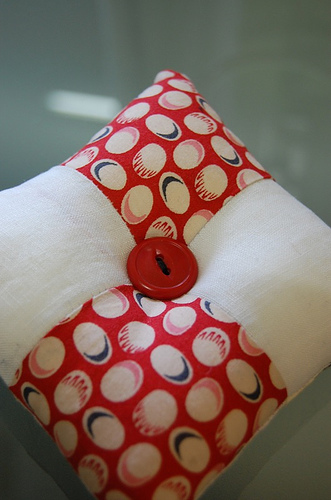
I was planning to make a simple square and stuff it, not unlike this one at Paper. String. Cloth,
but then I decided I wanted something with a bit more stability on the bottom. That’s where I came up with the idea to use a jar lid. Ooh, while we’re on the subject, let me tell you another (creepy) story about making this.
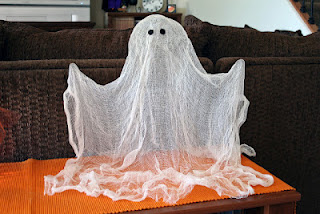
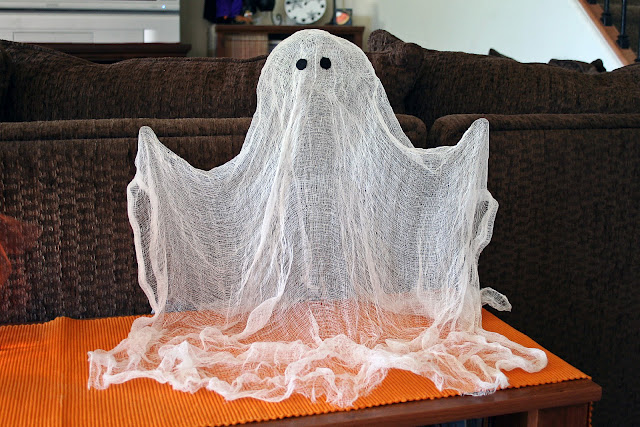
I got my jar lid out of the cupboard but it smelt like curry (it was a curry jar lid :P). I washed it and put it on the draining board and went to gather my supplies. When I came back for the jar lid, it had gone! Like literally disappeared. There was only me and the babies in the house and they were both napping so I knew they hadn’t taken it. I searched my kitchen for a good half an hour and even looked in the other rooms just in case I had for some reason taken it through. Anyway, it was totally gone so I got a new jar lid out, washed it, dried it (keeping TIGHT hold of it so I didn’t lose it) then took it in to make my pincushion. When I had it all finished, I went back into the kitchen and my original jar lid was sat right there on the draining board!! Yeh, I have a ghost that thinks it is hilarious to mess with my crafting stuff. Not cool, ghost, not cool!
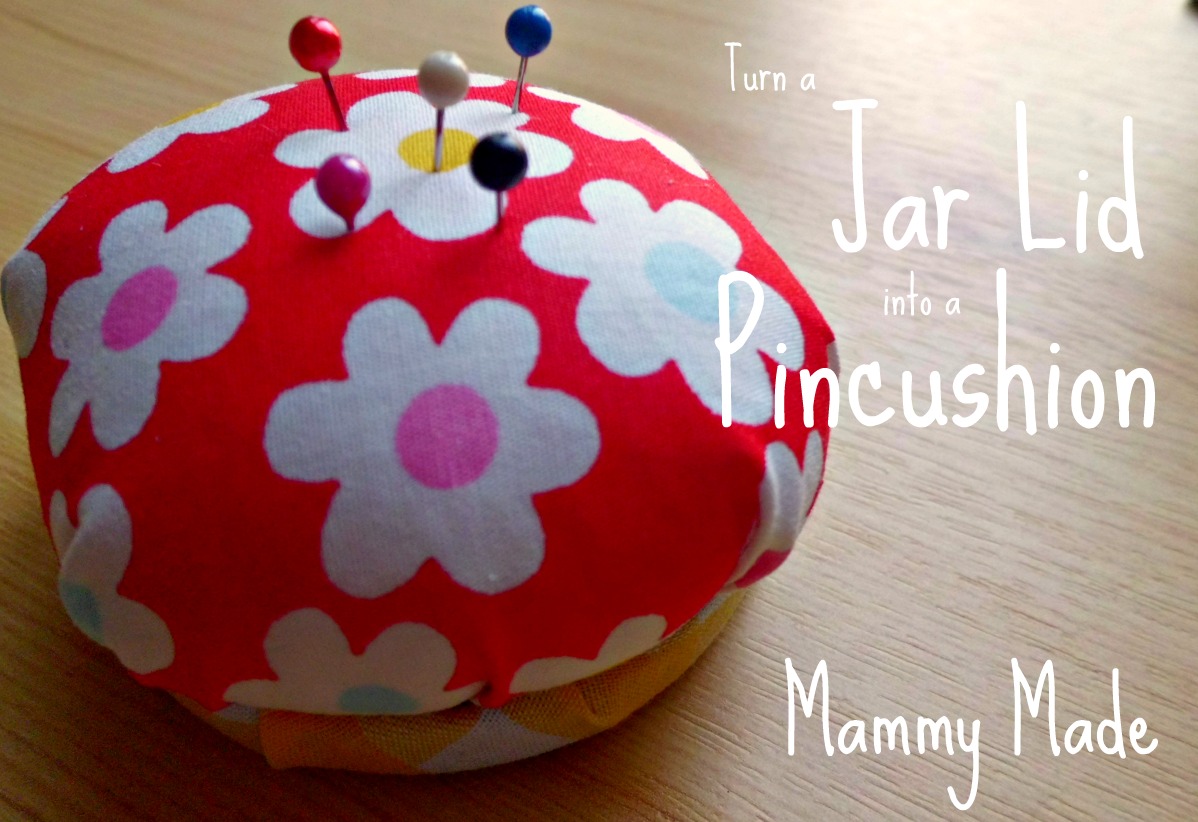
So, let’s make a jar lid pincushion 🙂
First of all, gather your supplies. You will need:
a jar lid
glue gun
material (I used two co-ordinating pieces I had left over)
stuffing
needle and thread
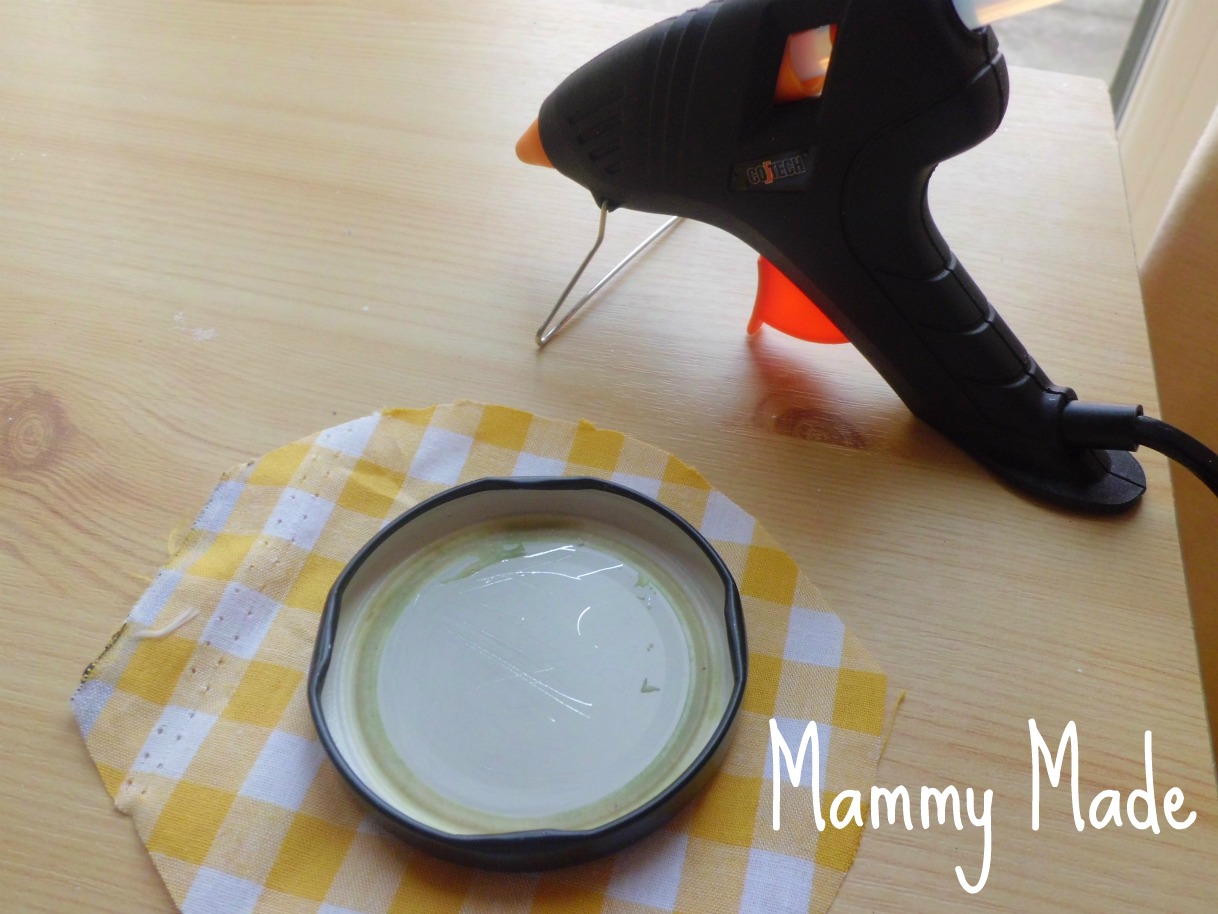
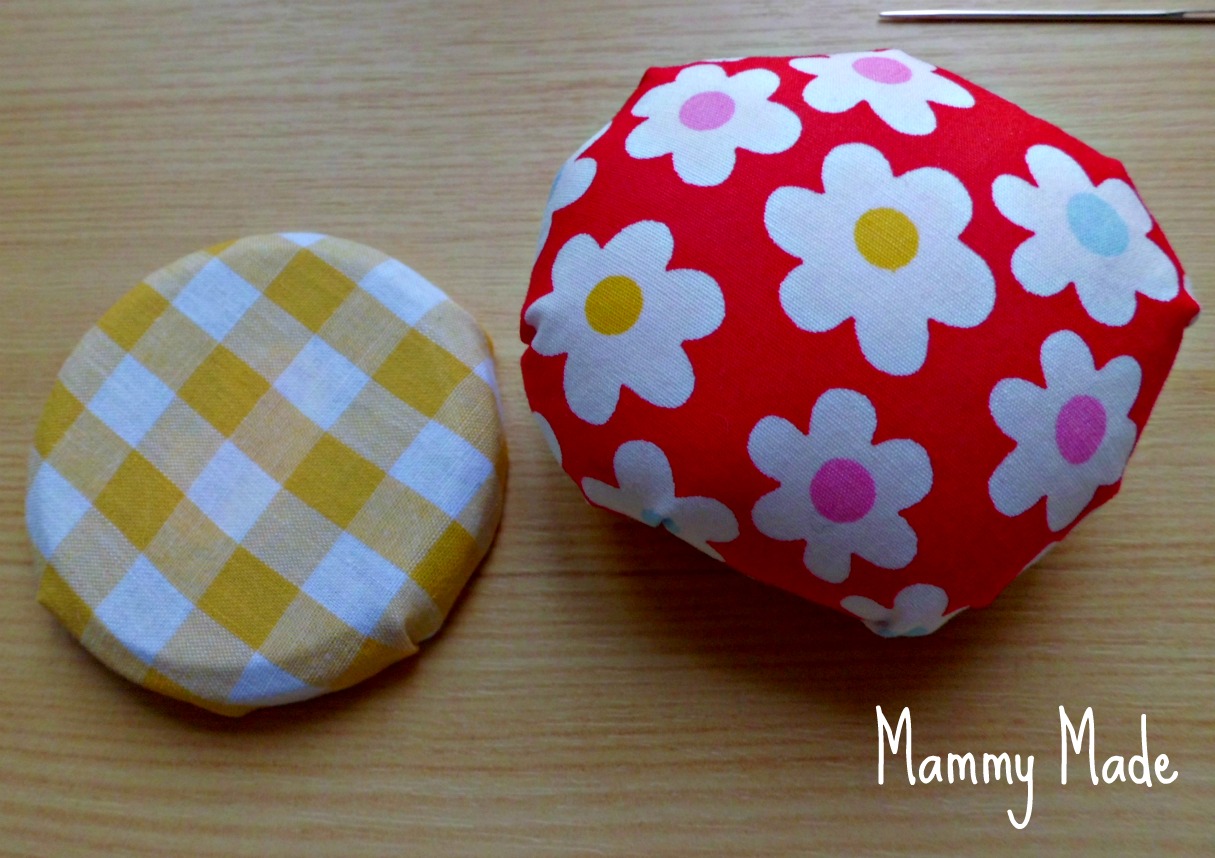
Take your jar lid and lay it out on top of material #1. Draw and cut a circle around it, making sure the circle is about 1″ bigger all around.
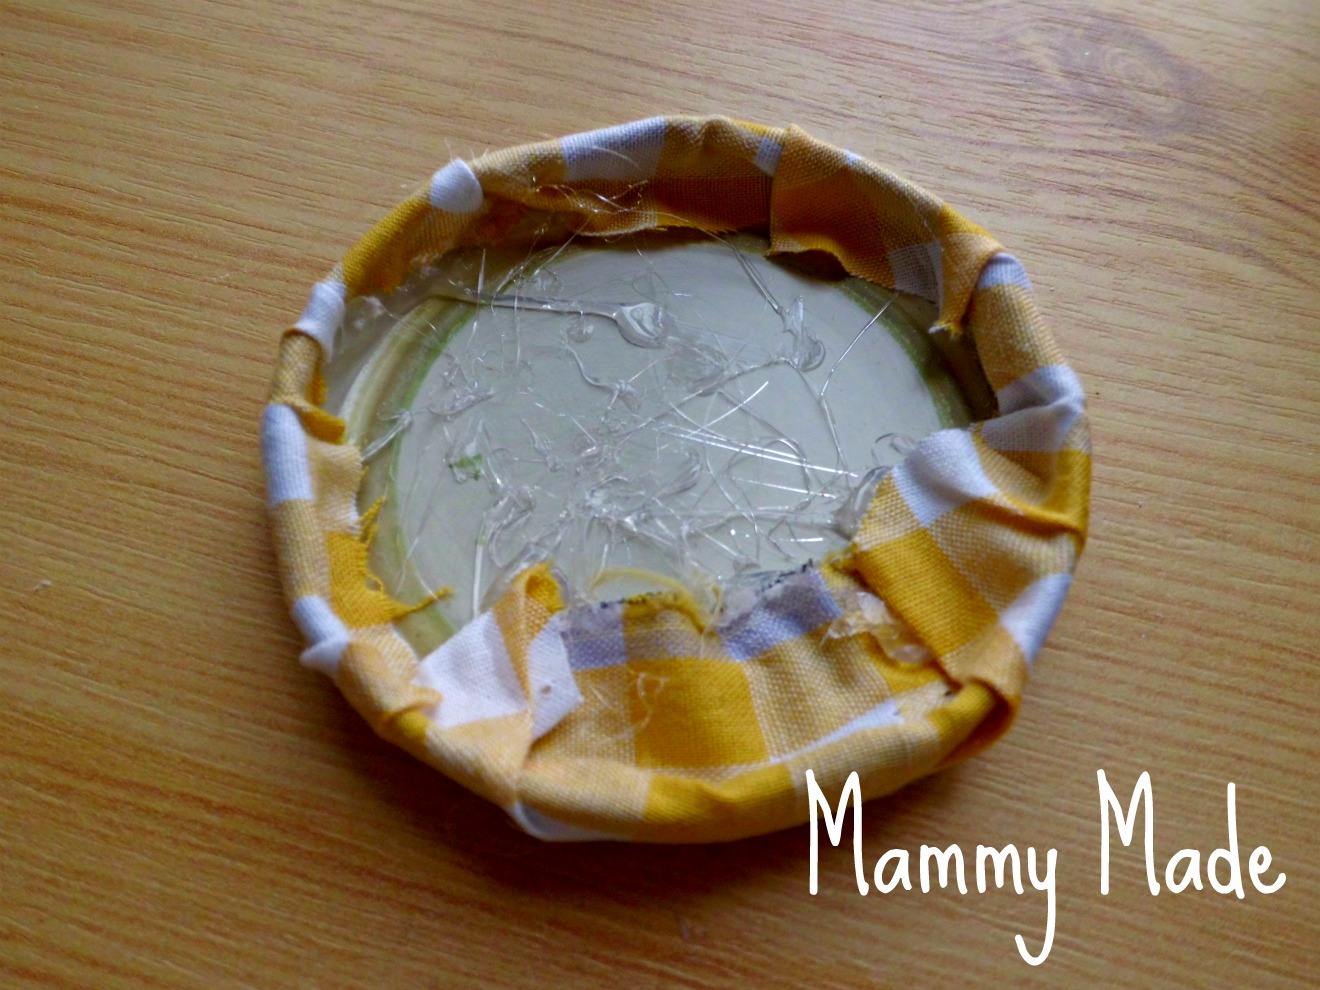
Squeeze some glue into the jar lid, going around the inside edge, then pressing the material down on it. You want your material to be quite tight on the jar lid so make sure you pull it before you stick it. It’s fiddly but you’ll get it.

Your jar lid is done 🙂 It doesn’t look all that on the inside but that is going to be covered anyway.
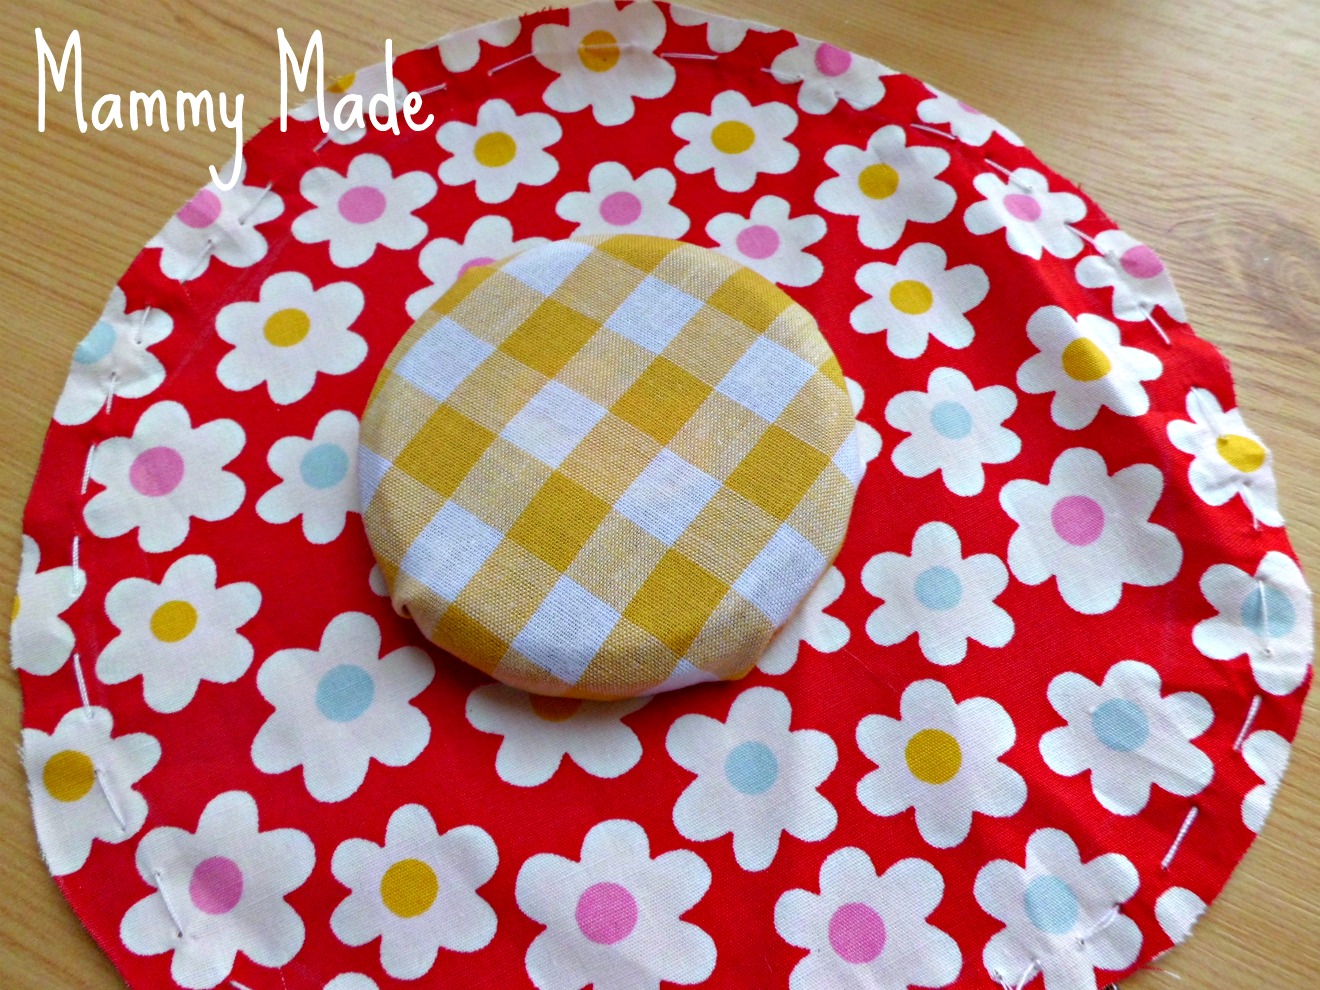
Next we’re going to make the middle pincushion part. Lay your covered jar lid onto material #2 and draw out a big circle, about 3″ bigger all the way around. Do a line of running stitch all around the outside then pull up to gather.
Add enough stuffing to make the pincushion very firm (fill it then add more, then more again, it needs to be very full!) Stitch the opening shut tightly.
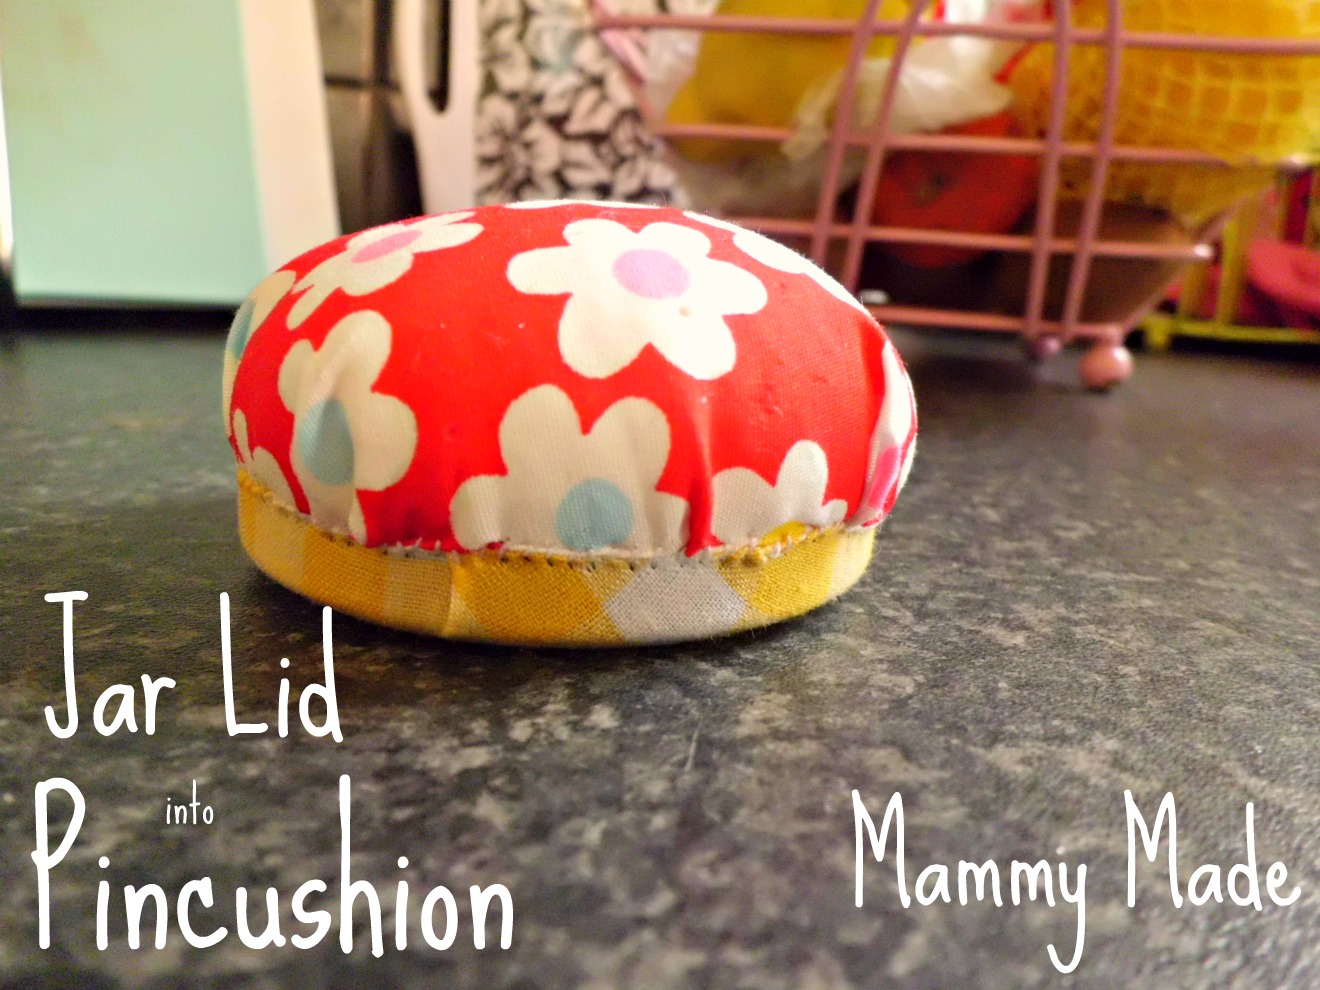
Squeeze some glue onto the bottom of the pincushion and press it tightly into the inside of the jar lid. Hold until it is fixed. If you have gaps around the outside edge, like I did, then you may want to take your needle and thread and do some stitches all around the edge to make sure it is totally secure.
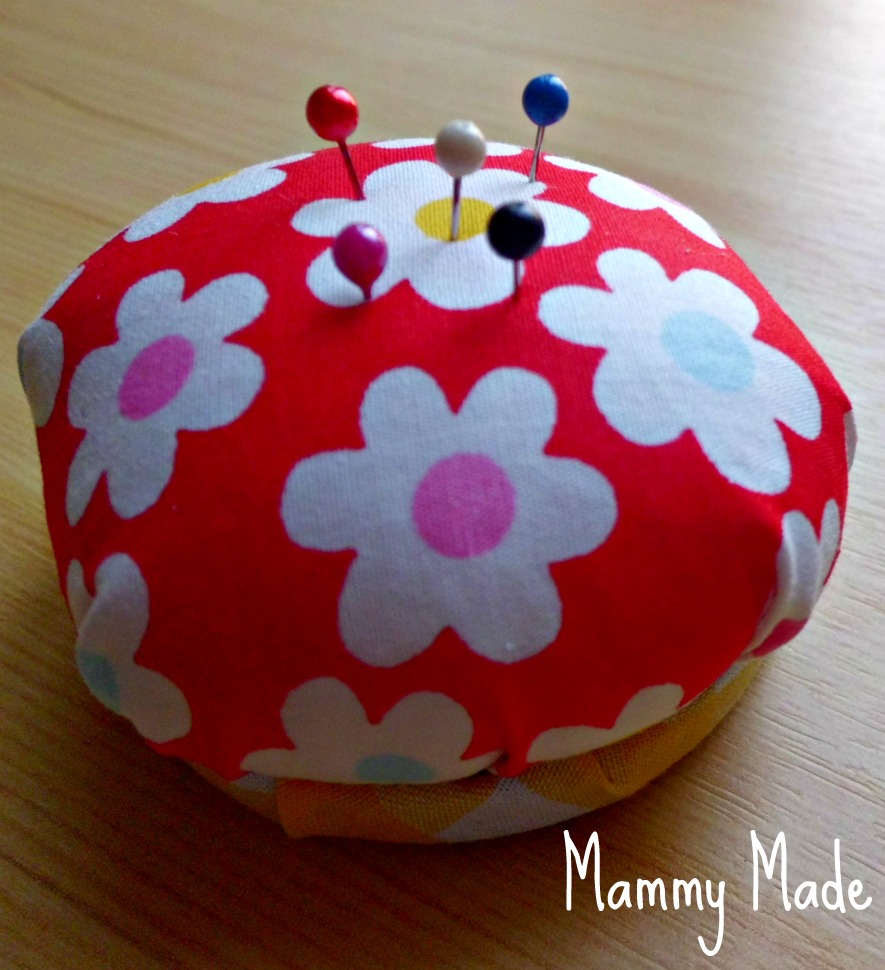
Fill it with your pins and you have a very cute little pincushion for all of your sewing needs 🙂
If you want to see more of me, you can find me at my blog. I am also on Facebook, Pintrest, Twitter and Ravelry. Thank you so much for having me today, Milena. I have had a brilliant time guest posting on your amazing blog.

Thank you so much babes 🙂
– Adele @ Mammy Made
No, thank you. I love all the work that you put into this post. Thanks again!
I LOVE this idea! I think i will go to the fabric store tomorrow!
Thank you hun 🙂